NextJS Supabase Database Migration Guide
In this guide, we will learn how to use Supabase migrations in your NextJS project.
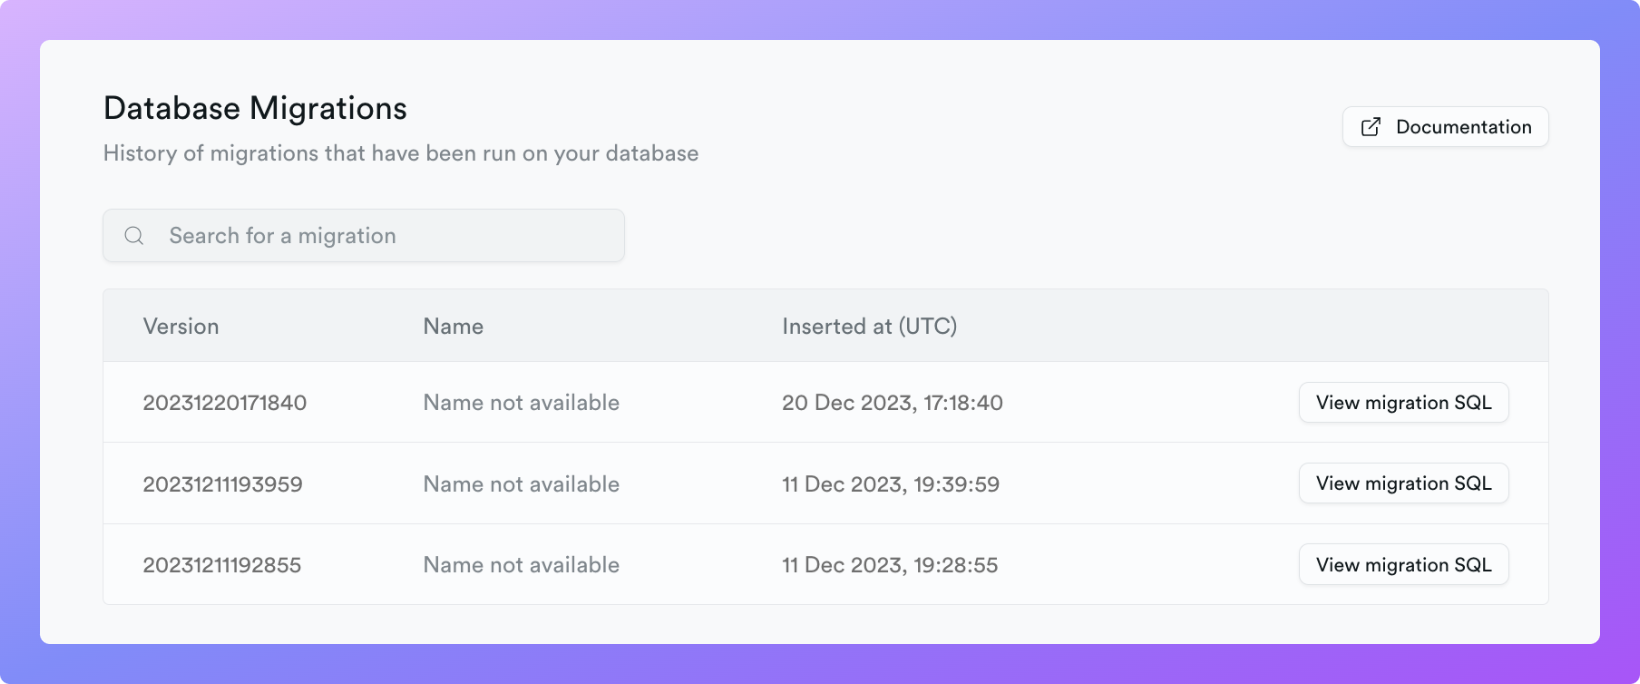
Migrations are a way to keep track of changes to your database schema. It is very convenient to use migrations when you are working with a team of developers. Migrations allow you to keep track of changes to your database schema and apply them to your production database.
We assume that you already have a Supabase project and a NextJS project.
Install Supabase CLI
First, we need to install the Supabase CLI. You can do this by running the following command in your terminal:
npm i supabase --save-dev
Initialize Supabase locally
Next, we need to initialize Supabase locally. This will create a new database in your local environment. You can do this by running the following command in your terminal:
supabase init
This will create supabase folder in your project root directory. This folder will contain all the files related to your Supabase database including migrations.
Run local Supabase (this requires Docker):
supabase start
Connect local database to your Supabase project
First, login to your Supabase account using Supabase CLI:
supabase login
Next, connect your local database to your Supabase project:
supabase link --project-ref <reference-id>
You can find your Reference ID in your Supabase project settings page.
Fetch and apply migrations from remote to local
If you have any existing tables in your remote Supabase database, you can fetch them and apply them to your local database:
supabase db remote commit
This will create new migrations for your local database. You can find them in the supabase/migrations folder.
Local DB changes in Supabase Studio
You can change your local DB in Supabase Studio which is available at http://localhost:54323.
Create new migration and push it to remote
Create migrations for the local database:
supabase db diff --use-migra <name> -f <name>
Apply existing migrations to the production database:
supabase db push
Conclusion
In this guide, we learned how to use Supabase migrations in your NextJS project. We also learned how to connect your local database to your Supabase project and how to fetch and apply migrations from remote to local.
Ship 10x faster with Claude Code
Production-ready CLAUDE.md templates, MCP server configs, custom hooks, and battle-tested workflows. Stop configuring, start building.
- CLAUDE.md templates for 6+ frameworks with MCP server configs
- 8+ custom hooks: Pre-commit, lint, test, format & more ready to go
- Prompt library: 50+ curated prompts and workflow templates