Next.js 14 Metadata Guide: Boost Your SEO with Advanced Metadata Features
Next.js 14 introduces powerful metadata features that help you optimize your application for search engines and social sharing. In this comprehensive guide, we'll explore how to implement metadata effectively, from basic title tags to dynamic Open Graph images.
Understanding Next.js Metadata
Next.js provides two main approaches to adding metadata to your application:
- Config-based Metadata: Using static metadata objects or dynamic generateMetadata functions
- File-based Metadata: Using special files for icons, manifests, and social images
Let's dive into both approaches and see how to implement them effectively.
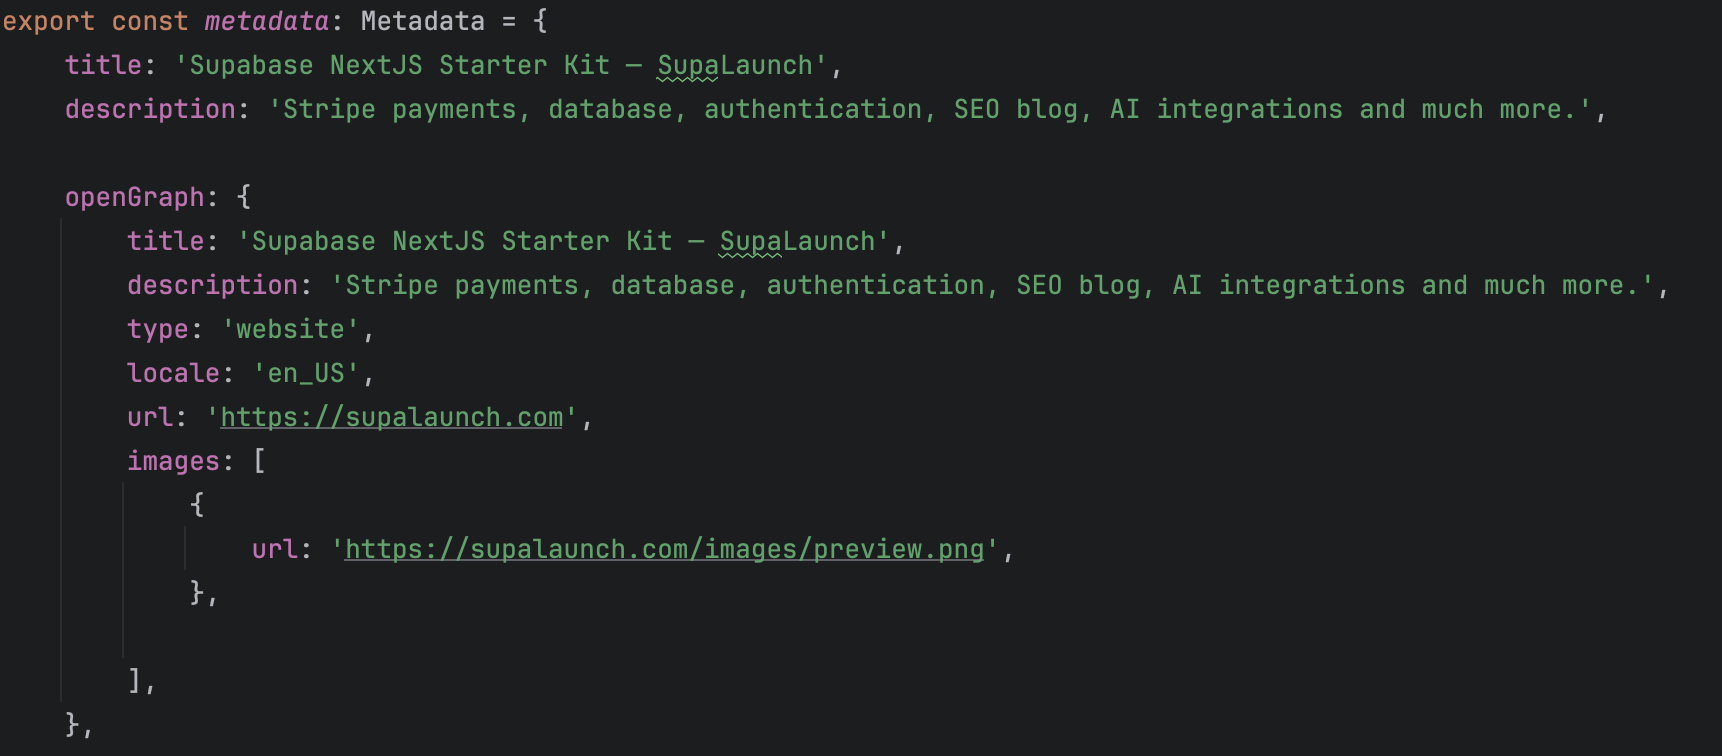
Static Metadata Implementation
The simplest way to add metadata is through a static metadata object in your layout or page files:
import { Metadata } from 'next'

export const metadata: Metadata = {
  title: {
    template: '%s | My Website',
    default: 'My Website', // Used when no template is provided
  },
  description: 'Welcome to my website built with Next.js 14',
  keywords: ['Next.js', 'React', 'JavaScript'],
  authors: [{ name: 'John Doe' }],
  creator: 'John Doe',
  publisher: 'My Company',
  robots: {
    index: true,
    follow: true,
    googleBot: {
      index: true,
      follow: true,
      'max-video-preview': -1,
      'max-image-preview': 'large',
      'max-snippet': -1,
    },
  },
}

export default function RootLayout({
  children,
}: {
  children: React.ReactNode
}) {
  return (
    <html lang="en">
      <body>{children}</body>
    </html>
  )
}
Dynamic Metadata Generation
For pages that need dynamic metadata based on content or parameters:
import { Metadata } from 'next'

type Props = {
  params: { slug: string }
}

export async function generateMetadata({ params }: Props): Promise<Metadata> {
  // Fetch blog post data
  const post = await fetchPost(params.slug)

  return {
    title: post.title,
    description: post.excerpt,
    openGraph: {
      title: post.title,
      description: post.excerpt,
      images: [
        {
          url: post.ogImage,
          width: 1200,
          height: 630,
          alt: post.title,
        },
      ],
    },
    twitter: {
      card: 'summary_large_image',
      title: post.title,
      description: post.excerpt,
      images: [post.ogImage],
    },
  }
}

export default function BlogPost({ params }: Props) {
  // Your component code
}
File-based Metadata
Next.js 14 supports several special files for metadata:
1. Favicon and App Icons
Place these files in your app directory:
// Your favicon file
import { ImageResponse } from 'next/og'

export const size = {
  width: 32,
  height: 32,
}

export const contentType = 'image/png'

export default function Icon() {
  return new ImageResponse(
    (
      <div
        style={{
          background: '#000',
          width: '100%',
          height: '100%',
          display: 'flex',
          alignItems: 'center',
          justifyContent: 'center',
          color: '#fff',
          fontSize: 24,
        }}
      >
        A
      </div>
    ),
    size
  )
}
2. Open Graph and Twitter Images
Create dynamic social sharing images:
import { ImageResponse } from 'next/og'

export const runtime = 'edge'

export const alt = 'My Website'
export const size = {
  width: 1200,
  height: 630,
}

export default async function Image() {
  return new ImageResponse(
    (
      <div
        style={{
          fontSize: 128,
          background: 'white',
          width: '100%',
          height: '100%',
          display: 'flex',
          alignItems: 'center',
          justifyContent: 'center',
          padding: 48,
        }}
      >
        <h1>My Website</h1>
      </div>
    ),
    {
      ...size,
    }
  )
}
3. Manifest File
Create a web manifest for PWA support:
import { MetadataRoute } from 'next'

export default function manifest(): MetadataRoute.Manifest {
  return {
    name: 'My Next.js Application',
    short_name: 'Next.js App',
    description: 'My Next.js App Description',
    start_url: '/',
    display: 'standalone',
    background_color: '#fff',
    theme_color: '#fff',
    icons: [
      {
        src: '/favicon.ico',
        sizes: 'any',
        type: 'image/x-icon',
      },
    ],
  }
}
4. Robots.txt
Control search engine crawling:
import { MetadataRoute } from 'next'

export default function robots(): MetadataRoute.Robots {
  return {
    rules: {
      userAgent: '*',
      allow: '/',
      disallow: '/private/',
    },
    sitemap: 'https://mywebsite.com/sitemap.xml',
  }
}
5. Sitemap
Generate a dynamic sitemap:
import { MetadataRoute } from 'next'

export default function sitemap(): MetadataRoute.Sitemap {
  return [
    {
      url: 'https://mywebsite.com',
      lastModified: new Date(),
      changeFrequency: 'yearly',
      priority: 1,
    },
    {
      url: 'https://mywebsite.com/blog',
      lastModified: new Date(),
      changeFrequency: 'weekly',
      priority: 0.8,
    },
  ]
}
Advanced Metadata Patterns
1. Metadata Inheritance
Metadata is merged following the route hierarchy. Child routes can override parent metadata:
export const metadata: Metadata = {
  title: {
    template: '%s | My Website',
    default: 'My Website',
  },
}
export const metadata: Metadata = {
  title: 'Blog', // Will render as "Blog | My Website"
}
2. Dynamic Image Generation
Generate dynamic OG images based on content:
import { ImageResponse } from 'next/og'

export const runtime = 'edge'

export const alt = 'Blog Post'
export const size = {
  width: 1200,
  height: 630,
}

export default async function Image({ params }: { params: { slug: string } }) {
  const post = await fetchPost(params.slug)

  return new ImageResponse(
    (
      <div
        style={{
          background: 'white',
          width: '100%',
          height: '100%',
          display: 'flex',
          flexDirection: 'column',
          padding: 48,
        }}
      >
        <h1 style={{ fontSize: 64 }}>{post.title}</h1>
        <p style={{ fontSize: 32 }}>{post.excerpt}</p>
      </div>
    ),
    size
  )
}
SEO Best Practices
- Use Descriptive Titles and Descriptions
export const metadata: Metadata = {
  title: 'Home | My E-commerce Store - Best Products Online',
  description: 'Shop the best products online at My E-commerce Store. Find great deals on electronics, fashion, and more.',
}
- Implement Structured Data
export default function ProductPage() {
  const product = {
    name: 'Product Name',
    price: '99.99',
    description: 'Product description',
  }

  const jsonLd = {
    '@context': 'https://schema.org',
    '@type': 'Product',
    name: product.name,
    description: product.description,
    offers: {
      '@type': 'Offer',
      price: product.price,
      priceCurrency: 'USD',
    },
  }

  return (
    <>
      <script
        type="application/ld+json"
        dangerouslySetInnerHTML={{ __html: JSON.stringify(jsonLd) }}
      />
      {/* Rest of your component */}
    </>
  )
}
- Optimize for Social Sharing
export const metadata: Metadata = {
  openGraph: {
    type: 'article',
    title: 'Article Title',
    description: 'Article description',
    images: [
      {
        url: 'https://mywebsite.com/og-image.jpg',
        width: 1200,
        height: 630,
        alt: 'Article title',
      },
    ],
    publishedTime: '2024-01-01T00:00:00.000Z',
    authors: ['Author Name'],
  },
  twitter: {
    card: 'summary_large_image',
    site: '@username',
  },
}
Conclusion
Next.js 14's metadata features provide a powerful and flexible way to manage your application's SEO and social sharing metadata. By combining static and dynamic metadata with file-based conventions, you can create a robust SEO strategy that helps your content reach its intended audience.
Key takeaways:
- Use static metadata for consistent site-wide information
- Implement dynamic metadata for content-specific pages
- Leverage file-based metadata for icons and social images
- Follow SEO best practices with structured data
- Optimize for social sharing with Open Graph and Twitter cards
Additional Resources
Ship 10x faster with Claude Code
Production-ready CLAUDE.md templates, MCP server configs, custom hooks, and battle-tested workflows. Stop configuring, start building.
- CLAUDE.md templates for 6+ frameworks with MCP server configs
- 8+ custom hooks: Pre-commit, lint, test, format & more ready to go
- Prompt library: 50+ curated prompts and workflow templates